Showing posts with label bread. Show all posts

Sunday, March 30, 2014

ONION AND HERB FOCACCIA


A bread by any other name... focaccia, fougasse, hogaza, schiacciata, pizza... all contain the same basic ingredients: high-gluten (strong) flour, salt, yeast/leavening, oil, water. Focaccia, the predecessor of pizza is thicker, whereas pizza is thin, almost like a flatbread. But both are great with a variety of toppings.

Focaccia is great as a snack on its own, sliced with a bit of meat, cheese, a fried egg, or vegetables inside, with soup, roasted vegetables, meats, cubed and toasted into croutons, in a breakfast strata... the ideas are endless.


The one difference between any focaccia-like bread and pizza is that focaccia has a distinct olive oil flavour thanks to the generously greased pan in which it's baked, and the drizzle of olive oil it gets before baking. Don't skimp on the quality or quantity of oil - in this recipe, I've already pared down the oil so definitely don't reduce the quantity of oil in any step otherwise you'll end up with a dry crust, bottom, and crumb - essentially a dry loaf. No fun.


Onion and Herb Focaccia
Makes: 1 loaf, 17 in. x 12 in.

Dough:
- 2-1/2 cups whole wheat flour 
- 2-1/2 cups bread flour
- 2-1/2 tsp. active dry yeast (not Rapid Rise)
- 1 tbsp. salt
- 1 tbsp. lemon juice
- 2 tbsp. olive oil, plus more for greasing the baking tray
- 2 cups warm water (not hot - or the yeast will die and the dough won't rise!)

Topping:
- 1 tbsp. fennel seeds
- 1-1/2 tbsp. rosemary leaves, fresh or dried
- 1 tbsp. thyme, fresh or dried
- 1 tbsp. crushed red pepper flakes
- 1 tsp. black pepper, freshly ground
- 3 tbsp. olive oil
- 1 small red onion, thinly sliced
- 1 jalapeño, thinly sliced
- 1 tbsp. flaked or coarse salt
  1. In a large bowl, make the yeast sponge: mix 1 cup warm water, 1 cup whole wheat flour, and yeast. Set aside for 15 minutes - after 15 minutes the mixture should look frothy and feel "spongy" when stirred with a spoon.
  2. In a small bowl, mix the fennel seeds, rosemary, thyme, crushed red pepper, black pepper, and the 3 tbsp. olive oil. Set aside.
  3. To the yeast sponge, add the rest of the whole wheat flour, bread flour, 2 tbsp. olive oil, lemon juice, and salt. Mix well - the dough will be dry and clumpy. Add 1/2 cup warm water and mix into a dough. If needed, add more warm water, 1/4 cup at a time, to bind the dough into a ball. Knead till smooth and supple, about 5 minutes. The dough should be soft but not wet and sticky. If it is, add flour 1 tbsp. at a time until the dough is soft but not wet or sticky.
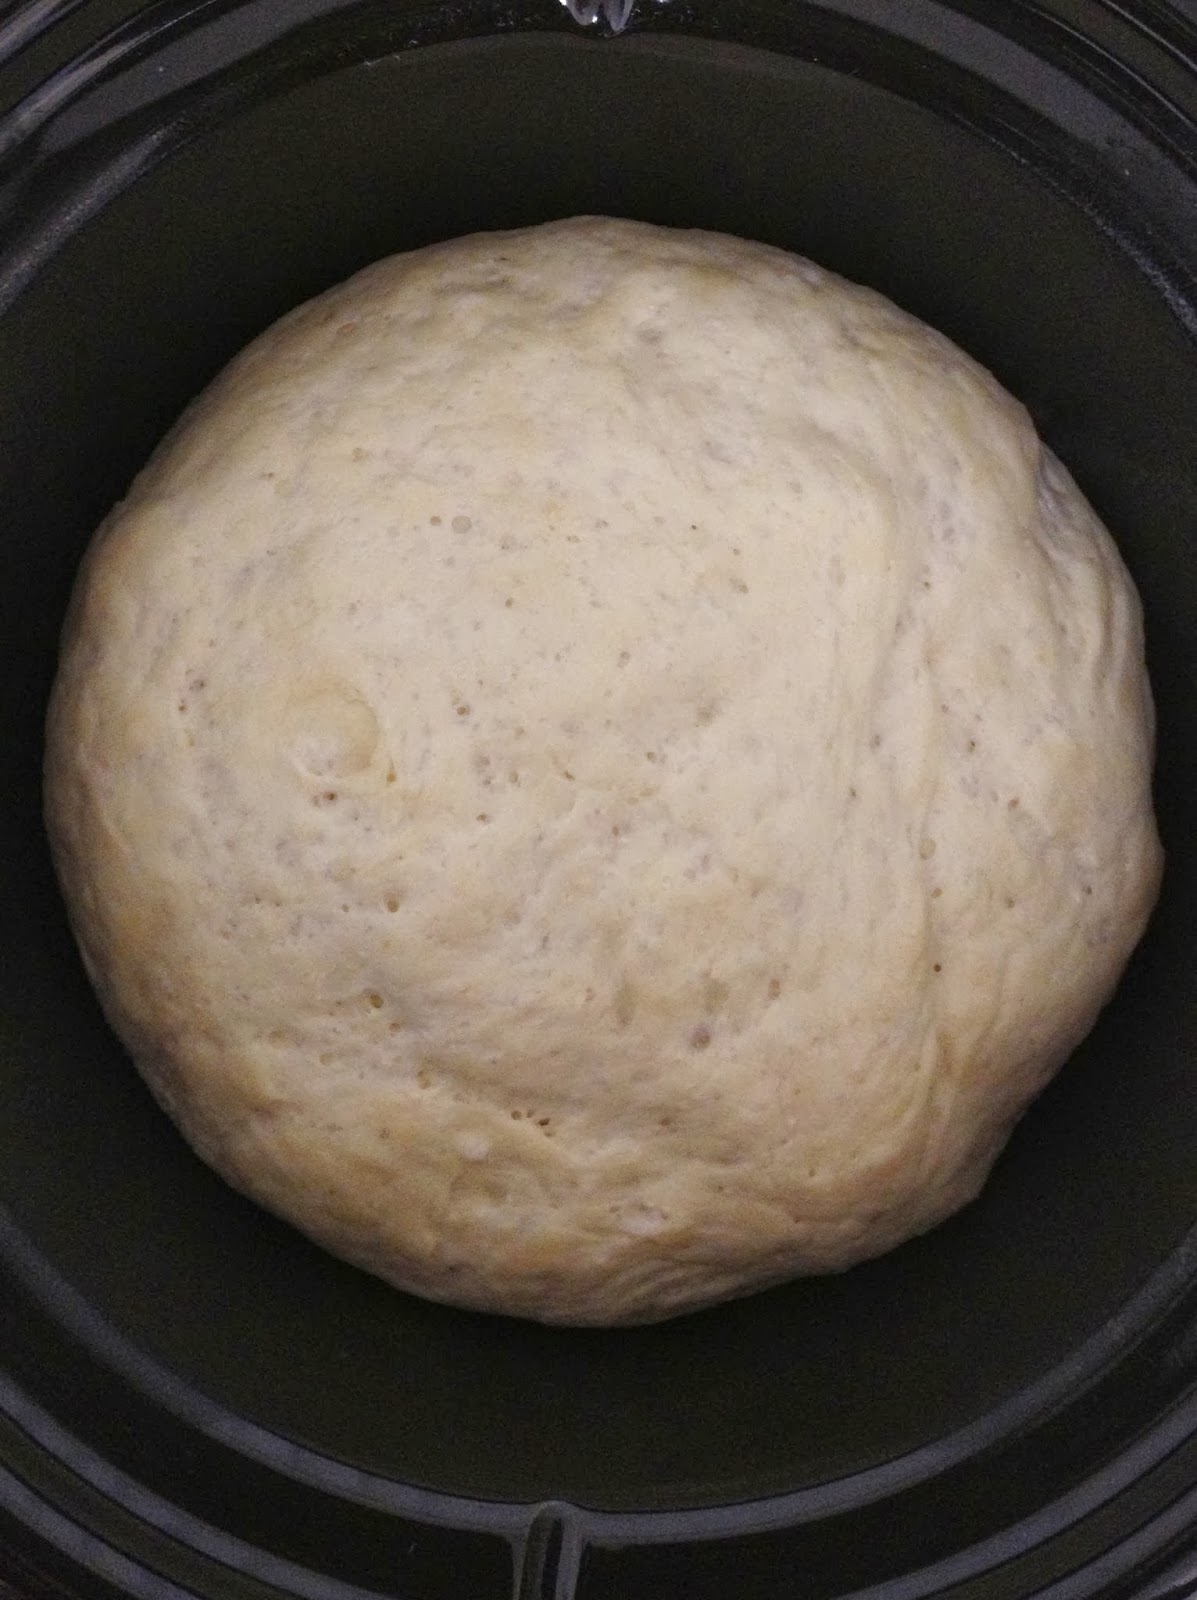
  4. Form the dough into a ball and put into a large bowl. Cover the bowl and put it in a warm, draft-free place until the dough has risen and doubled in size, at least 1 hour.
  5. Generously grease a 17 in. x 12 in. rectangular jelly roll pan / metal baking tray with olive oil.
  6. Gently push down the risen dough. Transfer to the greased pan and using your fingers, flatten the dough to fill the pan. The dough may spring back - let it rest for a minute and continue to flatten into an even layer.
  7. Let the dough rise in the baking tray for 20 - 30 minutes.
  8. Make sure there's a middle and lower rack in the oven. Preheat the oven to 425 F / 220 C. Fill an oven-proof tray with 1 - 2 in. water.
  9. Using your finger tips, make "dimples" all over the dough.
  10. Brush on the olive oil and herb mixture all over the dough. Gently press the sliced onion and jalapeño on to the dough. Evenly sprinkle the salt, if using, on the dough.
  11. Put the pan (with the dough) on the middle rack, and the tray with water on the lower rack.
  12. Turn the temperature down to 400 F / 200 C and bake for 25 - 30 minutes until the focaccia is golden at the top and bottom (use a spatula to lift a corner and check).
  13. Remove from the oven and cool for 3-5 minutes. Serve warm or at room temperature. Store leftovers in an airtight container at room temperature for up to 1 day or in the fridge for up to 2 days.

Tuesday, March 18, 2014

ONE BRUSCHETTA, TWO BRUSCHETTE: WITH SEA URCHIN


Bruschetta (bru-skett-ah, not brushettuh): a simple antipasto for which toppings are only limited by your imagination. I used sea urchin because I had some leftover fresh sea urchin from sushi-making, but usually I make it vegetarian with diced leftover roasted vegetables: potatoes, asparagus, cauliflower, carrots, parsnips, or in the spring, even lightly crushed cooked peas. Get creative, you won't be disappointed!

You can also use cooked diced shrimp, diced sashimi grade tuna raw or lightly seared, or smoked trout or salmon. I've made it with all of the above, and it's simply fantastic!


I used whatever I had at hand, so get creative with the herbs and vegetables. Jicama instead of cucumber, cilantro instead of parsley, lime instead of lemon, onion or shallots instead of scallions, add a bit of diced capsicum or celery to the mix... so many ways to make these! 


On to the sea urchin. Although now most popularly associated with Japanese cuisine - sushi in particular - sea urchin is actually eaten in many coastal places including Chile, Italy, and Korea. Sea urchin roe is best as fresh as possible. A lot like oysters, it in fact, tastes incredible right when harvested from the ocean. If you're buying it from the store, check the packing date and use it within a day or two of the packing date.

These bruschette are quick to put together, and the lemony tang of the topping really complements the briny flavour of the roe. The quick 10 minutes of marinating with the lemon juice, tomatoes, and garlic also makes the roe velvety, almost melt-in-your-mouth. 

Bruschette with Sea Urchin
Makes: 4 large bruschette

Topping

- 1/2 cup sea urchin roe
- 1 Persian (or 1/2 English) cucumber, diced small
- 1/2 jalapeño pepper, diced small
- 4-5 cherry tomatoes, diced
- 1 small clove garlic, minced
- 3 scallions, chopped
- 3 tbsp. minced parsley
- 1/2 tsp. salt
- 1 lemon, juiced
- 1/2 tbsp. olive oil, extra virgin

Bread

- 4 thick slices of sourdough / other rustic bread
- 2 tsp. olive oil, extra virgin
  1. In a glass or ceramic bowl, mix all the topping ingredients and set aside for 10 minutes. 
  2. Turn on the broiler. Brush 1/2 tsp. olive oil on each slice of bread and broil till the edges are browned, 2 - 3 minutes, depending on your oven.
  3. Top the broiled bread with the topping (including a bit of the topping juice) and serve.

Wednesday, February 26, 2014

THINK OUTSIDE THE BOX: BEST PANCAKES, EVER.


Want to have pancakes for breakfast? Ditch the sad boxed pancake mixes travesties and do what I do: make them the old-fashioned, chemical-free way in a snap! These are not just quick and easy, they're also light and just the right thickness to really enjoy them without feeling too full too fast. I love them with just maple syrup and a bit of butter, but if you still feel a void, or want a more filling pancake experience, have them with fresh fruit. Sliced berries, mango, peach, banana, pear - they're all terrific on pancakes! Chopped walnuts, almonds, pine nuts, cashews are great too.


I do poached fruit like peaches or pears (shown in the first photo) on pancakes if I have them left over from something else, but I prefer raw fruit. The concentrated flavour of cooked fruits like berries overpowers the flavour of the maple syrup and there's no point in wasting perfectly great maple syrup. Honey is a much better alternative if you want to have your pancakes with macerated fruits, compotes, preserves, etc.


Best Pancakes, Ever.
Makes: 10 - 12 pancakes

- 1 cup rolled oats
- 3/4 cups all-purpose flour (I use unbleached AP flour)
- 3-1/2 tsp. baking powder (not baking soda)
- 1 tsp. salt
- 1 tbsp. sugar
- 1 tbsp. orange zest (optional)
- 1-1/4 cups milk, at least 2% or higher fat (or nut milk of choice - I don't eat soy but you can use soy milk if you want)
- 1 egg
- 3 tbsp. butter, melted (coconut oil, or safflower/other neutral oil for dairy-free pancakes)
  1. Put the oats in a blender and process into oat flour. 
  2. Prep the dry ingredients: Mix together the oat flour, all-purpose flour, baking powder, salt, sugar, and orange zest in a large bowl. Make sure to mix everything well.
  3. Prep the wet ingredients: Break the egg into the blender jar, add the milk and melted butter. Process until everything is just mixed. 
  4. Make a well in the center of the dry ingredients and pour in the wet ingredients. Mix until everything just comes together in a smooth batter. A few small lumps are ok, but don't overmix the batter.
  5. Heat a lightly oiled skillet (or griddle or frying pan) over medium-high heat. Using a 1/4 cup measure or small ladle, pour the batter onto the hot skillet. The batter will spread to form a 6 - 7 in. pancake. After 30 - 40 seconds, flip the pancake and brown on the other side. Repeat to make more pancakes.
  6. Stack 2 pancakes on a plate and serve hot with a pat of butter and/or maple syrup.
Notes:
  1. The oat flour won't be as finely milled as the AP flour, but that's fine.
  2. If the batter doesn't spread into a 6 - 7 in. pancake, add 1/8 - 1/4 cup milk to thin it.
  3. This may be obvious but... if the first pancake is dark brown or burnt, lower the heat for the rest!
  4. Store leftovers in the fridge for up to 2 days and reheat as needed.

Sunday, February 23, 2014

EGG ROLLS: KOLKATA STREET-FOOD CLASSIC


Way back when, in small Southern towns out in nowhere, the one petrol station in the area was also a grocery store, general store, pharmacy, restaurant, fishing store, and gossip club. And we should all be glad that in the South, tradition prevails even if the venue gets a facelift. Like the Chevron on the way out of Nachitoches, LA that has some of the best fried chicken, shrimp, crawfish, boudin balls, and a lot more. In fact, stop at a petrol station in any small town around the South and you can have some of the best BBQ, biscuits, meat pies, fried chicken, a slew of meat jerky, fudge, banana pudding, pies, cakes, and even full breakfast, lunch, and dinner. Regional food that comes as close as possible to street-food here in the US.

Meanwhile in countries like India and other parts of Asia, you can do an entire culinary pilgrimage of street-food. So many variations, creations, seasonal foods, and timeless classics that belong on the streets, not in a home kitchen.

Egg rolls are one such Kolkata street-food classic about which all my friends from Kolkata - Bengali or not - have unfailingly *raved*. I cannot stand Chinese food, even less so Indian-style Chinese food, so I'd stop listening at egg ro...

Until I had these and discovered they're nothing like the Chinese egg rolls... and then I was converted. When you're a continent away from Kolkata streets, these do the job quite well, are a snap to make at home, and especially delicious with beer! You can make a meal of one by filling it with seasoned shredded carrots or other raw vegetables. I made these from scratch but you can certainly use ready-made paranthas, or make extra and freeze for later.


Kolkata-style Egg Rolls
Makes: 6 rolls

Paranthas (flatbread):
- 1-1/4 cup white wheat or unbleached all-purpose flour (or your favourite gluten-free all-purpose flour mix)
- 1 tsp. salt
- 1 tsp. olive oil (or any neutral oil)
- 1 cup warm water

Egg filling:
- 6 eggs
- 1/2 onion, sliced thinly
- 1 serrano pepper, sliced thinly
- 6 tbsp. ketchup, or more to taste
- salt and pepper, to taste
- 1 lemon, quartered
- 3 tbsp. chile sauce (optional)
  1. Make 6 paranthas (flatbread):
    1. Put the flour, salt, and oil in a large bowl. 
    2. Add water 1/4 cup at a time to make a semi-firm dough.
    3. Knead for 5 minutes till the dough is supple.
    4. Let it sit for at least 10-15 min.
    5. Heat a skillet (or flat griddle) at medium heat.
    6. Divide the dough into 6 parts, roll between your palms into a round ball.
    7. Roll each ball of dough into a circle, 6-7 in. each.
    8. Put on the heated skillet and flip when the dough looks opaque, after about 1 minute.
    9. Drizzle a tsp. of oil around the edges of the flatbread, cook for a minute or so .
    10. Flip and cook for another minute or until you see brown spots on the flatbread (see the photo above).
    11. Repeat for the remaining dough and set the paranthas aside for the egg rolls.
  2. Make the egg rolls, 1 at a time:
    1. Heat an omelette pan or skillet to medium-low heat.
    2. In a bowl, beat one egg at a time.
    3. Put a tsp. of oil into the pan and spread it evenly with a spatula or brush to make sure the egg won't stick.
    4. Pour the beaten egg into the pan. Immediately put a parantha onto the egg and gently press down.
    5. Let everything cook for a minute or so. Flip so the parantha is on the pan and and cook for another minute.
    6. Transfer to a plate with the egg facing up, and arrange some of the sliced onion and other garnishes on the egg, off-center (see the photo above). Add a light sprinkle of lemon juice.
    7. Roll up and serve!

Friday, October 18, 2013

KHOUBZ aka PITA: IN AN INSTANT

Khoubz in Arabic, pita in the West via Greece. Whatever you call it, it's easy to make at home! And don't give up even if the first couple of times your loaves aren't the best or the roundest because... well because you can't make an omelette without breaking some eggs. So get to it!

I wanted to try making bread with instant yeast which I never use because it just sounds soul-less. And I am glad I tried it, because now I know why I never use instant yeast. Can't make an omelette without you-know-what!

Of course, it's better to use instant yeast and have bread rather than having none at all, but I missed the flavour of the yeast and delicious yeast-y smell of bread in the oven. If you have time, use the yeast dough method in my pizza dough post. Or make both a couple of times and see if you prefer one over the other.


Khoubz, or Pita
Makes: 8 - 10 loaves

- 3 cups flour
- 1-1/2 tsp salt
- 1 tsp sugar, I use demerara
- 2-1/4 tsp instant yeast (1 packet)
- 1-1/2 cups warm water
- 1/2 cup milk

- 2 tbs olive oil
  1. In a large bowl, mix the yeast, flour, salt, and sugar. Add the olive oil and 1 cup water and mix to form a ball of dough. If the dough is not holding together and is crumbly, add more water 1 - 2 tbsp. at a time. Mix the water really well into the dough each time - don't let the water just remain on the surface of the dough otherwise all you'll get is a sticky mess!
  2. Once you have a ball of dough, put it on the counter-top, baking tray, or cutting board and knead for approximately 5 minutes or until the dough feels smooth and supple. A simple hand kneading technique is to firmly press down on the dough with the palm of your hand, fold the dough in half toward you like you are closing an envelope, rotate the dough 90 degrees and then repeat these steps. But really, knead however you want and do whatever it takes to make that dough smooth like a baby's bum.
  3. Oil your palms with a tsp of olive oil and shape the dough into a ball. Let it rest in a covered bowl in a draft-free, warm place such as an unheated oven. After 60 - 90 minutes when the dough has risen and doubled in size, push it down gently to release some of the yeasty gases and divide the dough into 8 - 10 pieces.
  4. Preheat the oven to 425 F/220 C with or without a pizza stone.
  5. Roll each piece of dough into a ball, cover the balls with a damp kitchen towel, and let them rest for 15 - 20 minutes. Or, roll each ball of dough into a circle, and let it rest in baking trays or any other flat surface for 15 - 20 minutes.
  6. Put 2-3 or however many uncooked pita loaves fit without being crowded on your baking surface and bake for 5-6 minutes. When the bread puffs up and takes on a slight brown colour, remove from the oven. The bread *will* brown and eventually burn if you leave it in the oven for even a minute longer than 5-6 minutes. 425 F/220 C is hot!
  7. If you're not eating these immediately, take them out of the oven, put them in a large container and cover with a damp towel until you're ready to use them. Reheat as needed.

Tuesday, July 9, 2013

PEACH, BASIL, AND RICOTTA CROSTINI

The juicy simplicity of summer!


Peach, Basil, and Ricotta Crostini
Servings: makes about 30 crostini

- 1 sourdough baguette, sliced
- 3-4 medium sized ripe peaches or nectarines, cut into 1/8 in. slices
- 15 oz. (425 g) ricotta cheese (I use whole milk ricotta)
- 1 bunch 
or 30-40 leaves, fresh basil
- 1-1/4 tsp. freshly ground coarse black pepper
- 1 tbsp. lemon rind
- 1 small lemon, juiced
3/4 - 1 tsp. salt
- 1 tbsp. brandy or cognac (optional)

1. Preheat the oven to 350 F/180 C.
2. Toast the sliced bread for 7 - 10 minutes, or until just dry and crisp.
3. In a roomy bowl, mix well the ricotta, salt, pepper, lemon juice, lemon rind, and brandy/cognac if using.
4. Take the bread out of the oven and let ir cool for 1-2 minutes.
5. Assemble the crostini: on each slice, stack a tablespoon of the ricotta mixture, 1-2 leaves of basil, 1-2 peach slices.
6. Finish with freshly ground black pepper and a light sprinkle of salt if needed.

Notes:
1. You could do a few spring and summer fruit/vegetable-herb combinations, really... cherry-mint, strawberry-mint/basil, cucumber-dill/basil/cilantro, mango-mint/basil, thinly sliced kumquats-parsley, fresh figs-basil, chives-lemon-olives...

Tuesday, February 12, 2013

PAGACH: SLOVAK CABBAGE-STUFFED BREAD

Part of the Abbecedario Culinario - Slovakia in February!


Pagach: Slovak Cabbage-stuffed Bread
makes: 2 loaves (7 inch x 10 inch)

Dough:
- 2-1/2 cups all-purpose or bread flour (not whole wheat; please get your fibre from fruits and vegetables!)
- 1-1/2 tsp. yeast
- 1 tsp. salt
- 1 tsp. sugar
- 1-1/2 to 2 cups (or more as needed) lukewarm water (not hot or the yeast will die and the dough won't rise)

  1. Mix 1 cup warm water, 1 cup flour, and the yeast. Set aside for 20 min. to 1 hr. It should be frothy.
  2. Add the remaining flour and mix. Add water 1/4 cup at a time and mix until the dough comes together without being sticky. If the dough is too sticky add flour 1 tbsp. at a time and incorporate into the dough until the dough stops sticking to your fingers. Knead into a smooth, pliable dough and put in a large bowl.
  3. Put the bowl in a draft-free place (usually in an unheated oven or a cabinet). Allow the dough to rise for 1 hr. our until doubled in size.
  4. Preheat the oven to 350 F/180C.
  5. Take the bowl of dough out of its resting place and push the dough down till it deflates. Divide the dough into 4 parts.
  6. Generously dust 2 baking trays with flour and using your fingers, push the dough into an approximately 1/4 in. thick rectangle. The size of the rectangle will vary depending on the amount of dough and how well you shape it, but the thickness should be no less than 1/4 in. or the bread will stick to the tray during baking because of the wet filling.
  7. Spread the filling (recipe below) within 1/2 in. to 3/4 in. of the edge of the rectangle.
  8. Using a second piece of dough, in the other baking tray, make another rectangle large enough to fit on top of the rectangle with filling. Press the edges to seal (since the dough is fresh there's no need to wet the edges to seal). If desired, top with caraway seeds, onion (nigella) seeds, or any other topping of choice.
  9. Bake at 350 F/180 C for 20 - 30 minutes or until the bread is lightly browned and sounds hollow when tapped.
  10. Remove from the oven, let it sit for 15 minutes, then cut and serve.
  11. Repeat with the other 2 portions of dough.
Cabbage Filling:
- 1/2 head of a medium cabbage, cored and shredded
- 1 small yellow onion, diced
- 1/2 green or red capsicum, diced
- 1 tsp. caraway seeds
- 2-3 tbsp. chopped fresh parsley
- salt and pepper to taste
- 1 tbsp. olive oil
- 1/4 cup water
- 1 tbps. crushed red pepper (optional)
  1. Heat olive oil in a pan until hot but not smoking.
  2. Add caraway seeds and turn heat to medium. After the caraway seeds sizzle, add the onion and capsicum and sauté until the onion starts to soften. Add cabbage, stir to mix, and allow to cook for 2-3 min.
  3. Add the 1/4 cup water to the pan and stir so the vegetables don't stick to the pan. Let the cabbage cook - it will reduce in volume and you will have approximately 1-1/2 to 2 cups filling. Season with salt and pepper, and crushed red pepper if using.
  4. Let the mixture cool completely before spreading it on the dough (as described above).
Notes:
1. If your yeast is old or you're not sure whether it is alive, proof it before mixing the flour to make the dough. Proofing yeast - even the regular non-Rapid Rise kind - is only done to prove that the yeast is alive before preparing a recipe. Proofing is not imperative in baking.
2. To proof 1-1/2 tsp. yeast: heat 1/2 cup water to 80 F/26 C, sprinkle yeast on the surface, let it sit for 10 minutes. If it is frothy, your yeast is alive. If the yeast does not react, it is dead and cannot be used for baking.

Thursday, January 17, 2013

KAAS-UIENBROOD (CHEESE-ONION BREAD)


Kaas-Uienbrood (Cheese-Onion Bread)
makes: 2 loaves, approx. 6 in. x 9 in. each

- 4-1/2 cups unbleached all purpose flour
- 2-1/4 tsp. active dry yeast
- 2 cups warm milk (I use goats milk when I have it)
- 1 tsp. salt
- 1 medium yellow or red onion
- 3-4 tbsp. chopped dried/fresh herbs (I used fresh rosemary)
- 2 tbsp. olive oil
- 2 cups grated cheese - gouda, edam, or any other aged cheese
  1. If your yeast is old, it may not be alive - proof the yeast as described in the Notes below to check if it is alive.
  2. Mix the flour, salt, yeast, and 1-1/2 cups milk in a bowl to make a smooth dough. If the dough is dry/crumbly, add milk and mix until the dough is supple.
  3. Allow the dough to rise in a warm, draft-free place for an hour or until doubled in size. I usually cover the dough with a kitchen towel and let it rise in the oven (with the oven off, of course!), or in a kitchen cupboard.
  4. While the dough is rising, peel, halve, and slice the onion, and mix in the olive oil and herbs. Also line 2 baking trays with parchment paper (not wax paper).
  5. Gently push the risen dough down and shape into a ball. Let it rise in a warm draft-free place again for about 45 minutes or until it has approximately doubled in size.
  6. Push the dough down lightly and divide between the baking trays. Using your fingers, form the dough into 3/4 in. thick rectangles. Top with the herbed onions and cheese and allow to rise for 20 - 30 minutes.
  7. Preheat the oven to 375 F/190 C. Bake the bread on the middle rack of the oven for 20 - 25 minutes, or until the bottom looks light brown. Transfer the baking tray to the top rack to "caramelize" the cheese and onions. (I usually bake one tray at a time: while the first one is baking, I shape and top the remaining dough and let it rise while the first round bakes.)
  8. Take the loaves out and allow to cool in the baking tray for 10 - 15 min. before slicing. Or cool completely and store in an airtight container.
NOTES:
  1. Proofing yeast - even the regular non-Rapid Rise kind - is only done to prove that the yeast is alive before preparing a recipe. Proofing is not imperative in baking.
  2. To proof 2-1/4 tsp. yeast: heat 1/2 cup water to 80 F/26 C, stir in 1 tsp. sugar, sprinkle yeast on the surface, let it sit for 10 minutes. If it is frothy, your yeast is alive. If the yeast does not react, it is dead and cannot be used for baking.