Showing posts with label basic. Show all posts

Sunday, May 15, 2016

EASY PÂTE BRISÉE (SHORTCRUST PASTRY)


This is an easy fool-proof recipe for a classic French pastry dough, aka pate brisée, great for any recipe that needs a flaky pastry crust - pies, tarts, quiches, even empanadas / baked samosas. Enjoy!

Pate Brisee (Shortcrust Pastry)
Makes: 1 10-1/2 in. crust (enough for one quiche, pie or tart)

- 1-1/2 cups all-purpose flour
- 1 large pinch salt
- 8 tablespoons (1 stick) unsalted butter, chilled and cut in small pieces
- 3 to 4 tbsp chilled water
  1. Put the flour and salt in the bowl of a food processor and process to mix.
  2. Cut the butter in chunks and add it to the flour. Process it, using pulses, until the butter is incorporated into the flour and the mixture looks like coarse cornmeal.
  3. With the food processor running, add water 2 tbsp at a time and process briefly, using pulses, just until the pastry beings to hold together in large clumps. A way to check is to take a few tbsp of the flour-butter-water mix and press into a clump. If it holds well, it's got enough water. If it crumbles, it needs more water, 1 tbsp at a time.
  4. Remove the pastry onto a floured work surface and gather it into a ball.
  5. Refrigerate for 15 min before using in any tart, pie or quiche recipe.

Wednesday, January 21, 2015

"EVERYDAY" SALSA: SALSA CASERA


Salsa casera (or ranchera) mean house salsa (or ranch salsa) in Spanish. This is the beloved day-to-day homestyle salsa that is so easy to make and tastes great with everything. There are as many varieties of salsa casera as there are Mexican households... everyone makes it ever so slightly differently, depending on personal taste, tradition, chiles available, etc. It's sometimes made with a mix of tomatillos and tomatoes, or with roasted fresh chiles serrano/jalapeño/de arbol/cayenne instead of dried. Sometimes with chiles pequin added to take the heat up a notch, sometimes without cilantro, sometimes with Mexican oregano. However you make it, you can't go wrong with this salsa. It's quite basic, fresh, and herb-y.


Salsa Casera
makes: ~1-1/2 cups

- 1 lb. ripe tomatoes
- 4 cloves garlic
- 5 - 8 chiles de arbol (or cayenne, commonly used in India)
- 1/2 white onion, unpeeled
- 1 large handful cilantro, leaves and tender stems
- 2 tbsp. distilled vinegar
- 1 tbsp. salt
  1. Put the onion cut side down and the unpeeled garlic in a pan. Dry-roast on medium until the garlic is softened somewhat, charred in places, and the cut side of the onion is mostly charred. Peel the garlic and onion and place in a food processor jar.
  2. Boil water in a pan large enough to hold the tomatoes. Cut a cross on the top (stem side) of the tomatoes and put into the water. Bring to a boil and turn off the heat. Allow to cool and peel the tomatoes. Transfer to the food processor.
  3. Add the remaining ingredients and pulse into a salsa - don't blend into a soup! Adjust salt and lime to taste.
  4. Serve immediately or refrigerate for up to a week.

Friday, October 4, 2013

SPICED GHEE

You are what you eat.

The internet is full of information about the importance of ghee in Ayurveda and the many health benefits of ghee so I won't get repetitive about it. But I will say that ghee is one of the best fats your mind and body can have.

This ghee with aromatic spices is wonderful for cooking, in rice dishes, and drizzled over oats or a warm fruit compote. One of my favourite winter breakfasts is rice with ghee, a bit of cayenne pepper, and salt. The spices in the ghee add roundness and warmth to the flavour of food - perfect for the cooler months of the year!

I use 4 cooking fats: ghee, cold expeller-pressed coconut oil, olive oil, and grape-seed oil, in that order. Of the 4, olive oil has the lowest smoke point so I almost never use it for cooking unless I'm sauteeing something at a very low heat or adding it to a soup or stew later in the cooking process and heating everything together.

Ghee and coconut oil have a higher smoke point and don't oxidize easily, and they taste divine in sweet and savoury foods alike.


Spiced Ghee
Makes: approximately 8 oz./1 cup

- 8 oz. organic cow's milk butter, preferably unsalted but salted will do just fine
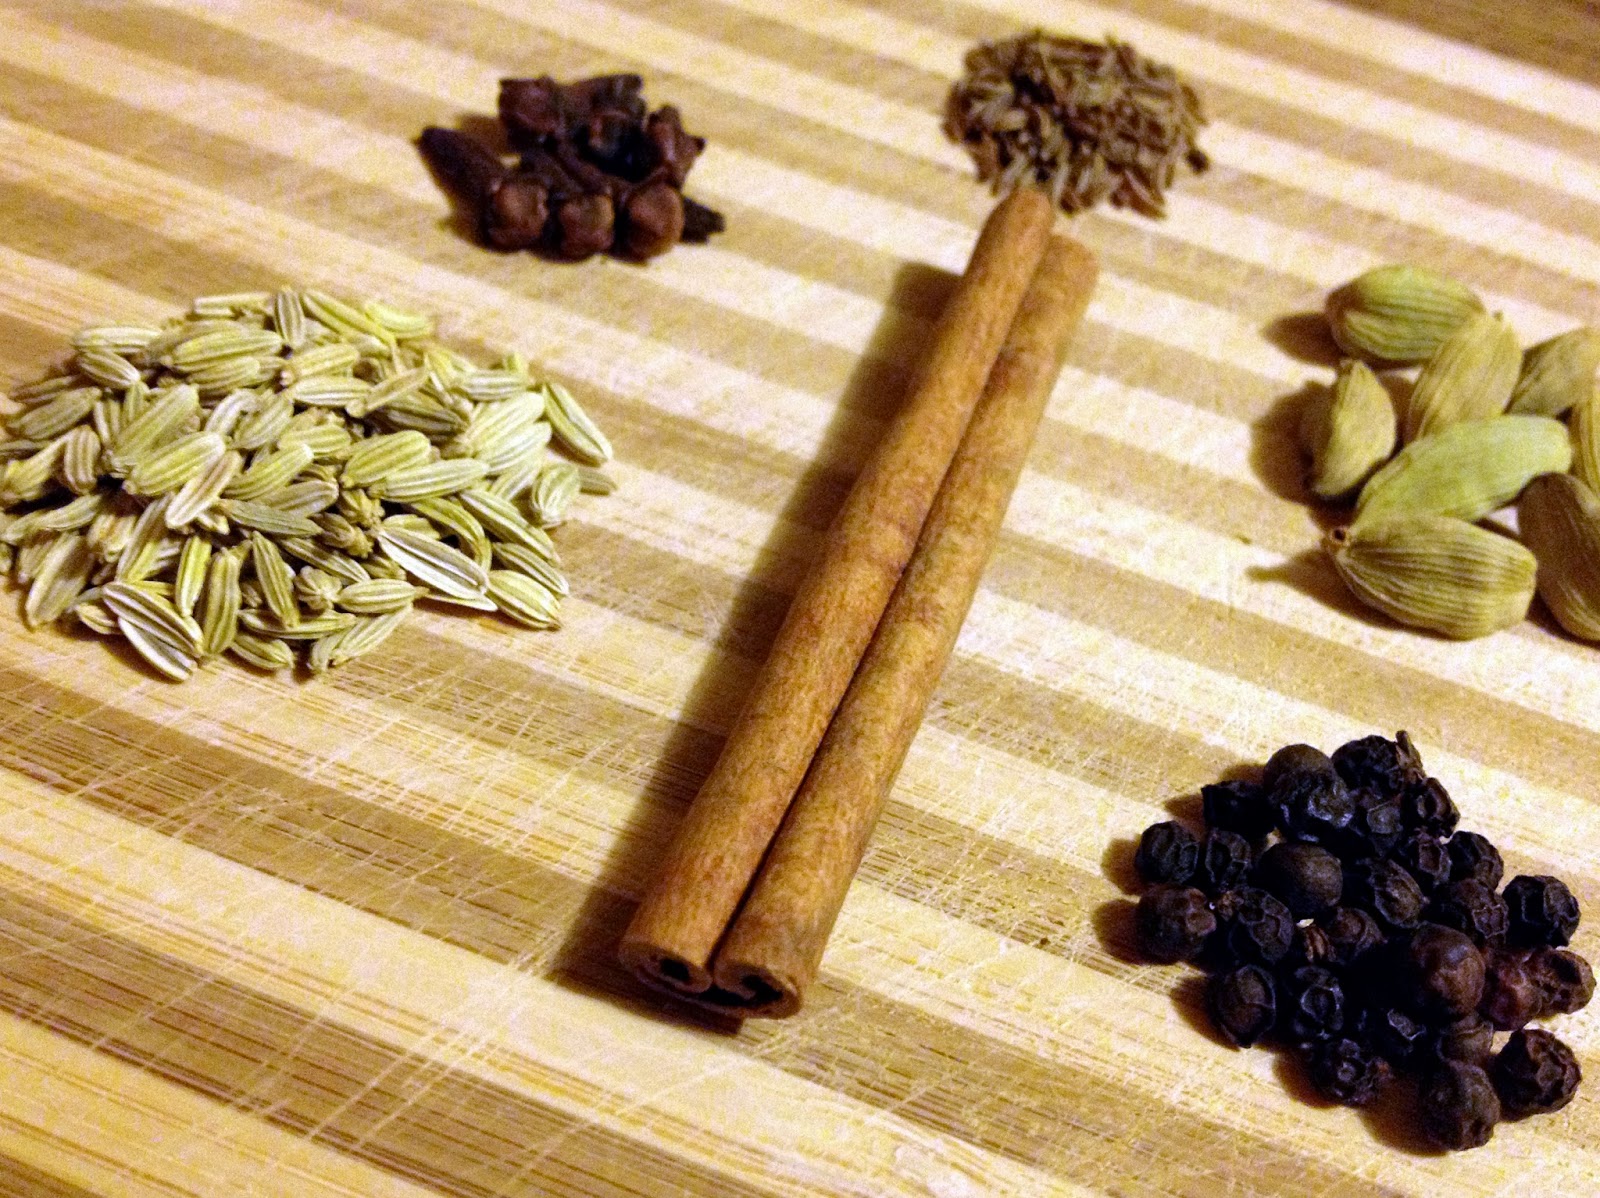
- 1 tsp cloves, whole 
- 1 tbsp cardamom, whole
- 1 tbsp fennel seeds, whole
- 1 tbsp black Tellicherry peppercorns, whole
- 1 tbsp caraway seeds ("shah jeeru" in Gujarati)
- 1 stick cinnamon, 3-4 in. long

- stainless steel pan (cast-iron and enamel may be ok, but definitely not non-stick or aluminium)
- fine mesh strainer

1. In a mortar and pestle, lightly crush the peppercorns, cardamom, and fennel.
2. In the same pan that you will use to make ghee, add all the spices and turn on the heat to low and gently dry-roast the spices till aromatic. This will happen within a minute so keep an eye on things or you'll have burnt-tasting spiced ghee. If you are distracted or short on time, skip this step and add the spices and butter together to the pan. Unroasted spices will affect the final flavour far less than burnt spices!
3. Add the butter, turn the heat up to medium-low and let the butter melt completely.
4. Turn the heat to very low, for the remainder of the process, 25 - 30 minutes. The butter will start to foam and you will hear the butter crackle and pop - this is water evaporating from the butter.
5. Periodically check the butter without stirring: tilt the pan slightly or use a stainless steel or wood spoon to separate the foam so you can see the butter solids and spices. As the butter cooks, the solids will separate and settle, and the butter will get clearer.
6. As more and more water evaporates, the crackling and popping will reduce and the solids at the bottom of the pan will turn caramel in colour. Around 20 - 25 minutes after you start cooking the butter on low heat, the crackling and popping will almost completely stop. The solids will also turn a deep golden colour (not dark brown!).
7. TURN OFF THE HEAT! Deep golden to burnt takes no time at all and that's most definitely going to make the ghee taste burnt. 
8. Using a fine mesh strainer, strain the ghee into a completely dry container. Let the ghee cool completely before putting a lid on the container.
9. Store in a covered container at room temperature. Ghee at room temperature is straw coloured with a semi-liquid texture. If correctly made, it will be easily spoonable at room temperature, no scraping required. Always use a clean spoon to scoop out ghee for use. Ghee does not need to be refrigerated and if it is not exposed to contaminates, it will keep for over a year, even outside the fridge.

Notes:
1. If you don't have a strainer with very fine mesh, improvise by putting a paper towel inside the strainer and strain the ghee through that.

Sunday, July 28, 2013

GO NUTS: HOMEMADE ALMOND BUTTER

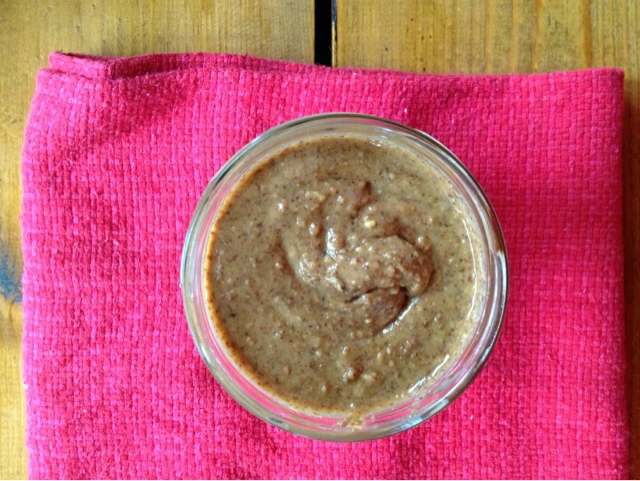
You guys have to make this make itself! Because that's what almond butter does. It makes itself. (Sorry, the photos are a bit rubbish, but I was too eager to make the almond butter so I could have it in my smoothie that evening.)

It's heavenly on toast but get creative... on ice cream, on waffles, as a dip mixed with cinnamon, honey and cocoa powder, as a savoury dip mixed with roasted garlic, lemon, salt, chili powder, cinnamon, and whatever other spices you want, orrrr just by the spoonful!

Just make it, and it'll inspire you to get creative with it.


Almond Butter
Makes: 2 cups

- 2 cups dry-roasted almonds (I use 50% Less Salt dry-roasted almonds from Trader Joe's)
- food processor

1. Put the almonds in the food processor.
2. Start the food processor.
3. Stop-and-go till you get almond butter, loosening the almond meal/paste from the sides as needed.
4. The almonds will go through a few stages - chopped, ground, pasty, smooth (almond butter).
5. If you're adding honey, spices or other things, add them when the almonds are pasty, or just before removing the almond butter from the food processor.
6. Enjoy!

Notes:
1. Raw almonds, like all raw nuts and seeds, are quite heavy on the digestive system and I don't recommend using them for almond butter or for eating.
2. Blanched or sprouted (soak almonds for 12 - 24 hours in water) almonds would work if you dry them completely first.
3. To dry: put the wet almonds on a towel to "surface-dry", transfer to a pan/baking sheet and let them air-dry in a single layer.