
Hummus is: chickpeas, tahini, garlic, lemon, salt. Drizzled with good olive oil.
Hummus is not: blended with any "flavours". No kalamata olives, roasted red peppers, sun-dried tomatoes, basil, spinach, artichokes, etc. Cilantro and chipotle? Yikes!
You can add whatever you want to your dip including chickpeas, and I'm sure it's delicious, but it's not hummus. It's some other dip, by any other name. I do it too, and I make up names for those dips.

Hummus: Chickpea Dip with Tahini
Makes: approximately 3-1/2 cups
- 2 cups dried garbanzos/chickpeas
- 1/3 cup tahini
- 4 cloves garlic
- 1 lemon, juiced
- 2-1/2 tsp. salt
- 3-4 tbsp. olive oil, for garnish
- Put the chickpeas in a large bowl.
- Add enough water to cover the chickpeas by 2-3 inches. They will absorb water and swell so you need abundant water for soaking.
- Let the chickpeas soak for up to 24 hours, but at least 4 hours.
- Drain the water and cook the chickpeas in one of the following ways:
- Pressure cook
- Slow-cook on low overnight - chickpeas and just enough water to cover by 1 inch
- Boil on the stove for 1 hour or till very soft
- Drain most of the cooking water and let the chickpeas cool till just cool enough to blend. To get a smooth hummus you want to blend the chickpeas while the skin is still soft. You can obviously make hummus with refrigerated chickpeas but it will be slightly grainy - still delicious! Or, you can warm up the chickpeas with a bit of water so everything's softened up.
- Put the chickpeas, garlic, tahini, lemon juice, salt, pepper, and 3/4 cup of the cooking water or fresh water into a blender.
- Blend to get a very smooth puree.
- Add more water in 1/4 cup increments if needed to help with blending. The hummus will get thicker as the chickpea puree absorbs some water.
- Adjust salt and lemon to taste.
- Put 1 cup of the hummus in a shallow dish or bowl, spread with the back of a spoon into a flattish layer.
- Garnish with a generous drizzle of 2 tbsp. olive oil and: paprika, minced parsley, or boiled chickpeas.
- Repeat with the remaining hummus or refrigerate for 3-4 days.
- Serve cool or chilled with any good Arabic bread.


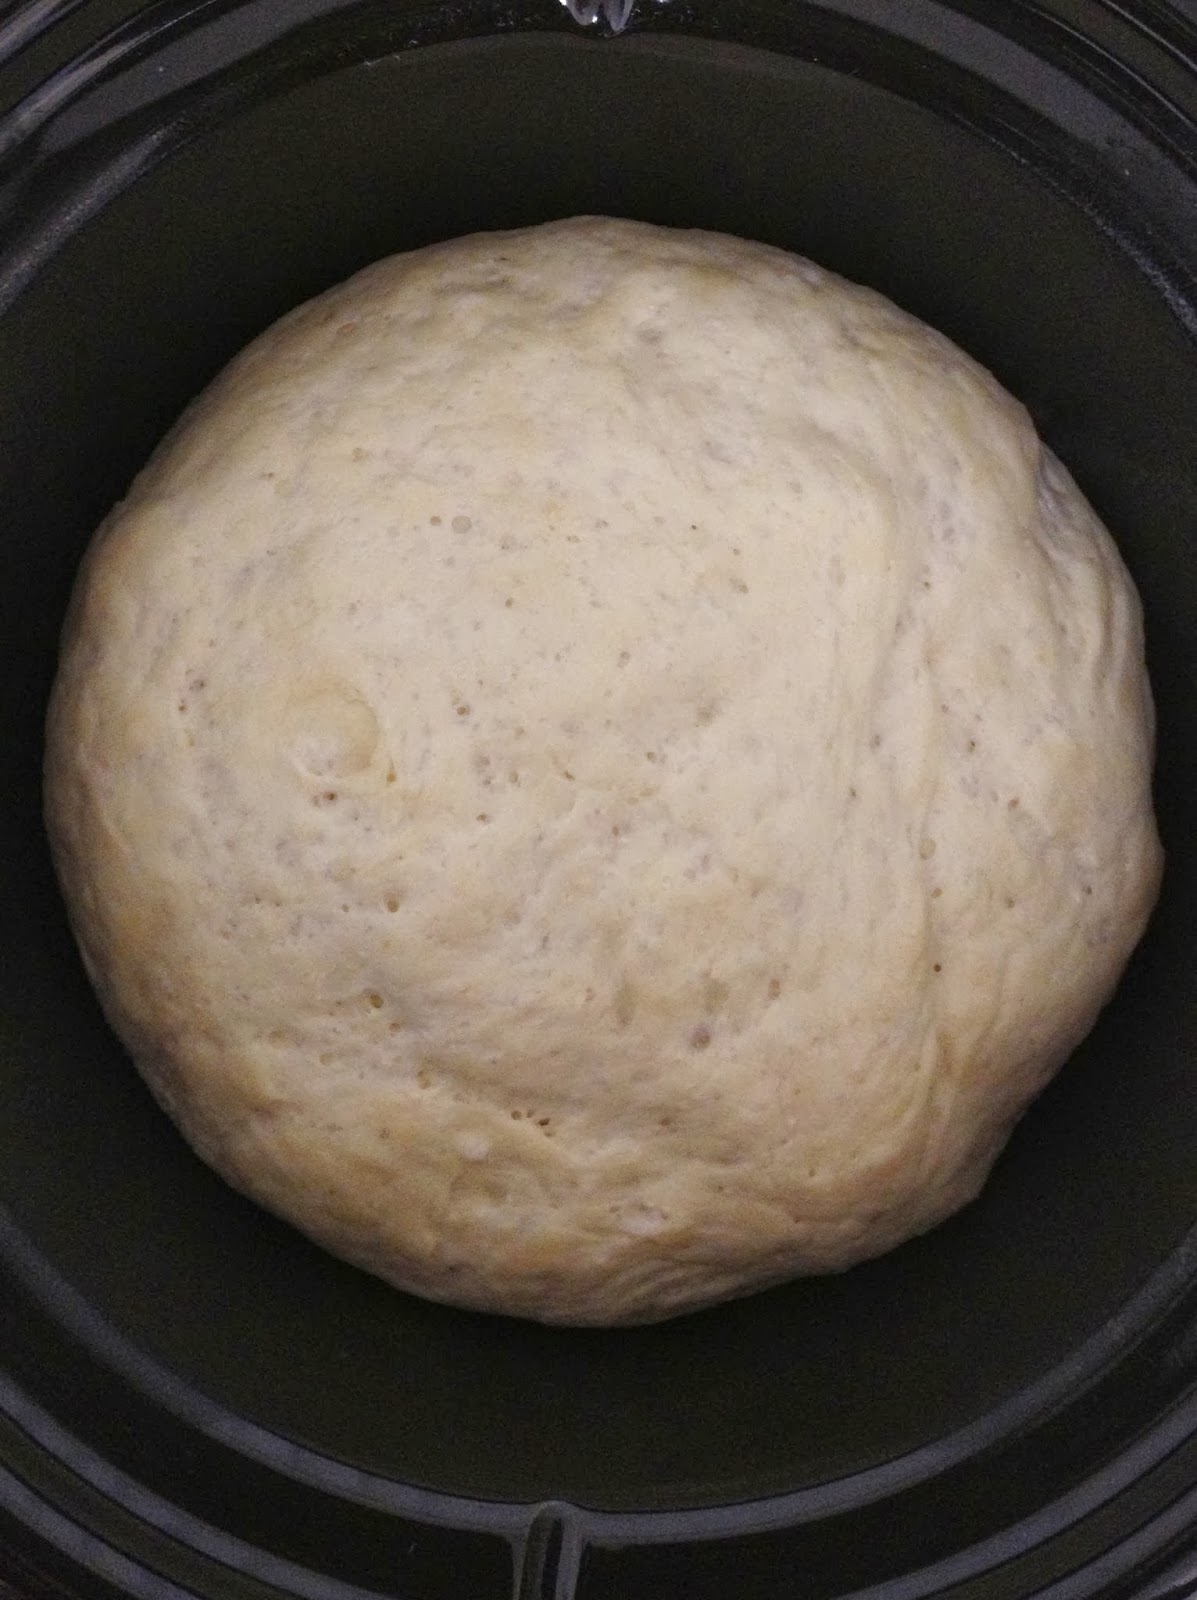


 Once you have a ball of dough, put it on the counter-top, baking tray, or cutting board and knead for approximately 5 minutes or until the dough feels smooth and supple. A simple hand kneading technique is to firmly press down on the dough with the palm of your hand, fold the dough in half toward you like you are closing an envelope, rotate the dough 90 degrees and then repeat these steps. But really, knead however you want and do whatever it takes to make that dough smooth like a baby's bum.