Showing posts with label mezze. Show all posts

Wednesday, January 29, 2014

SKINNY DIPPING: MUTABBAL (AUBERGINE DIP)

Mutabbal, or baba ghanouj as it's more commonly (and some might say erroneously) known, is somewhat similar to the many varieties of baingan bharta, ringan nu bharthu, begun pora, etc. in India, in that they all use roasted aubergine (eggplant). But really the similarity ends there. The flavours and appearance of mutabbal couldn't be more different from any of the Indian roasted eggplant dishes which are heavily spiced, very fragrant, and anything but pale in colour.


Nevertheless, mutabbal is easy to make and delicious as part of a mezze or by itself with some fresh Arabic bread.


Mutabbal or Baba Ghanouj: Aubergine Dip
Makes: approximately 1-1/2 cups


- 1 large aubergine (eggplant)
- 3 cloves garlic
- 2 tbsp. tahini
- 1 lemon, juiced
- 1 tsp. salt (or to taste)
- 2 tablespoon olive oil
Garnish ideas: a pinch of sumac, 1 tbsp. minced parsley, or 1-2 tbsp. pomegranate arils
  1. Rinse the eggplant, cut 3 slits in it, and tuck a garlic clove deep enough into each slit so it doesn't fall out during roasting.
  2. Roast the eggplant in one of the following ways till it's completely charred, very soft, and shriveled (see the photo above):
    1. Directly on a medium flame if you have a gas stove, turning occasionally to cook evenly.
    2. On a grill.
    3. In a pan in the oven at 400 F/200 C. 
  3. Remove the roasted eggplant from the heat. When it is cool enough to handle, rince and cut the eggplant in half and scrape the roasted flesh and garlic into the bowl of a food processor. Discard the skin and stem.
  4. Put all the other ingredients (except garnishes) into the food processor and pulse a few times to get a chunky dip or more to get a smooth dip. Taste and adjust salt and lemon.
  5. Spread the mutabbal in serving plate, drizzle with olive oil and garnish with parsley, pomegranate arils, or a sprinkling of sumac. Serve warm or chilled with Arabic bread.

SKINNY DIPPING: SYRIAN ZUCCHINI DIP

A perfect easy dip for late spring or summer when zucchini are abundant. It taste great warm, at room temperature or chilled. And as all good dips often do, it tastes terrific the next day after all the flavours have known each other for a bit.

Serve by itself with any good Arabic bread or as a part of a mezze with hummusroasted red pepper and walnut dip (muhammara), feta, and olives.


Mfarakit Kusa: Syrian Zucchini Dip
Makes: approximately 1-1/2 - 2 cups

- 4 small-medium zucchini, grated or very finely diced
- 1 small (1/2 cup) yellow or white onion, diced
- 4 cloves garlic, crushed into a coarse paste
- 2 tbsp. olive oil
- 1 lemon, juiced
- 1 tbsp. dried mint or dill
- 1 tbsp. minced parsley (optional)
- 2 tsp. salt
- 1-2 tbsp. olive oil, for garnish
  1. Heat the olive oil in a pan over medium heat.
  2. Add the onion and garlic and cook till translucent, about 4 - 5 minutes. 
  3. Add the zucchini and stir.
  4. Cook till the onions and zucchini are very soft and easily mash. Zucchini release water when cooked so cook till the water evaporates. Turn the heat to High if needed for a couple of minutes to let all water evaporate.
  5. Stir in the mint / dill and lemon juice, salt to taste, and parsley, if using.
  6. Put 1 cup of the dip in a shallow dish or bowl, spread with the back of a spoon into a flattish layer.
  7. Serve garnished with a generous drizzle of 1 tbsp. or more olive oil.

Tuesday, January 28, 2014

SKINNY DIPPING: HUMMUS


Hummus is such a favourite of mine! I make it very often when I'm in town consistently. When I'm in town inconsistently, I get hummus nearly everyday at lunch from a Mediterranean restaurant near office. Along with hummus I also get grape leaves, baba ghanouj, olives, and salad from there, but that's another story. Suffice to say I eat mostly vegetarian and mostly Mediterranean food - and I don't get tired of it.

Hummus is: chickpeas, tahini, garlic, lemon, salt. Drizzled with good olive oil.

Hummus is not: blended with any "flavours". No kalamata olives, roasted red peppers, sun-dried tomatoes, basil, spinach, artichokes, etc. Cilantro and chipotle? Yikes!

You can add whatever you want to your dip including chickpeas, and I'm sure it's delicious, but it's not hummus. It's some other dip, by any other name. I do it too, and I make up names for those dips.


Hummus: Chickpea Dip with Tahini
Makes: approximately 3-1/2 cups

- 2 cups dried garbanzos/chickpeas
- 1/3 cup tahini
- 4 cloves garlic
- 1 lemon, juiced
- 2-1/2 tsp. salt
- 3-4 tbsp. olive oil, for garnish
  1. Put the chickpeas in a large bowl. 
  2. Add enough water to cover the chickpeas by 2-3 inches. They will absorb water and swell so you need abundant water for soaking.
  3. Let the chickpeas soak for up to 24 hours, but at least 4 hours.
  4. Drain the water and cook the chickpeas in one of the following ways:
    1. Pressure cook
    2. Slow-cook on low overnight - chickpeas and just enough water to cover by 1 inch
    3. Boil on the stove for 1 hour or till very soft
  5. Drain most of the cooking water and let the chickpeas cool till just cool enough to blend. To get a smooth hummus you want to blend the chickpeas while the skin is still soft. You can obviously make hummus with refrigerated chickpeas but it will be slightly grainy - still delicious! Or, you can warm up the chickpeas with a bit of water so everything's softened up.
  6. Put the chickpeas, garlic, tahini, lemon juice, salt, pepper, and 3/4 cup of the cooking water or fresh water into a blender.
  7. Blend to get a very smooth puree.
  8. Add more water in 1/4 cup increments if needed to help with blending. The hummus will get thicker as the chickpea puree absorbs some water.
  9. Adjust salt and lemon to taste.
  10. Put 1 cup of the hummus in a shallow dish or bowl, spread with the back of a spoon into a flattish layer.
  11. Garnish with a generous drizzle of 2 tbsp. olive oil and: paprika, minced parsley, or boiled chickpeas.
  12. Repeat with the remaining hummus or refrigerate for 3-4 days.
  13. Serve cool or chilled with any good Arabic bread.

Friday, October 18, 2013

KHOUBZ aka PITA: IN AN INSTANT

Khoubz in Arabic, pita in the West via Greece. Whatever you call it, it's easy to make at home! And don't give up even if the first couple of times your loaves aren't the best or the roundest because... well because you can't make an omelette without breaking some eggs. So get to it!

I wanted to try making bread with instant yeast which I never use because it just sounds soul-less. And I am glad I tried it, because now I know why I never use instant yeast. Can't make an omelette without you-know-what!

Of course, it's better to use instant yeast and have bread rather than having none at all, but I missed the flavour of the yeast and delicious yeast-y smell of bread in the oven. If you have time, use the yeast dough method in my pizza dough post. Or make both a couple of times and see if you prefer one over the other.


Khoubz, or Pita
Makes: 8 - 10 loaves

- 3 cups flour
- 1-1/2 tsp salt
- 1 tsp sugar, I use demerara
- 2-1/4 tsp instant yeast (1 packet)
- 1-1/2 cups warm water
- 1/2 cup milk

- 2 tbs olive oil
  1. In a large bowl, mix the yeast, flour, salt, and sugar. Add the olive oil and 1 cup water and mix to form a ball of dough. If the dough is not holding together and is crumbly, add more water 1 - 2 tbsp. at a time. Mix the water really well into the dough each time - don't let the water just remain on the surface of the dough otherwise all you'll get is a sticky mess!
  2. Once you have a ball of dough, put it on the counter-top, baking tray, or cutting board and knead for approximately 5 minutes or until the dough feels smooth and supple. A simple hand kneading technique is to firmly press down on the dough with the palm of your hand, fold the dough in half toward you like you are closing an envelope, rotate the dough 90 degrees and then repeat these steps. But really, knead however you want and do whatever it takes to make that dough smooth like a baby's bum.
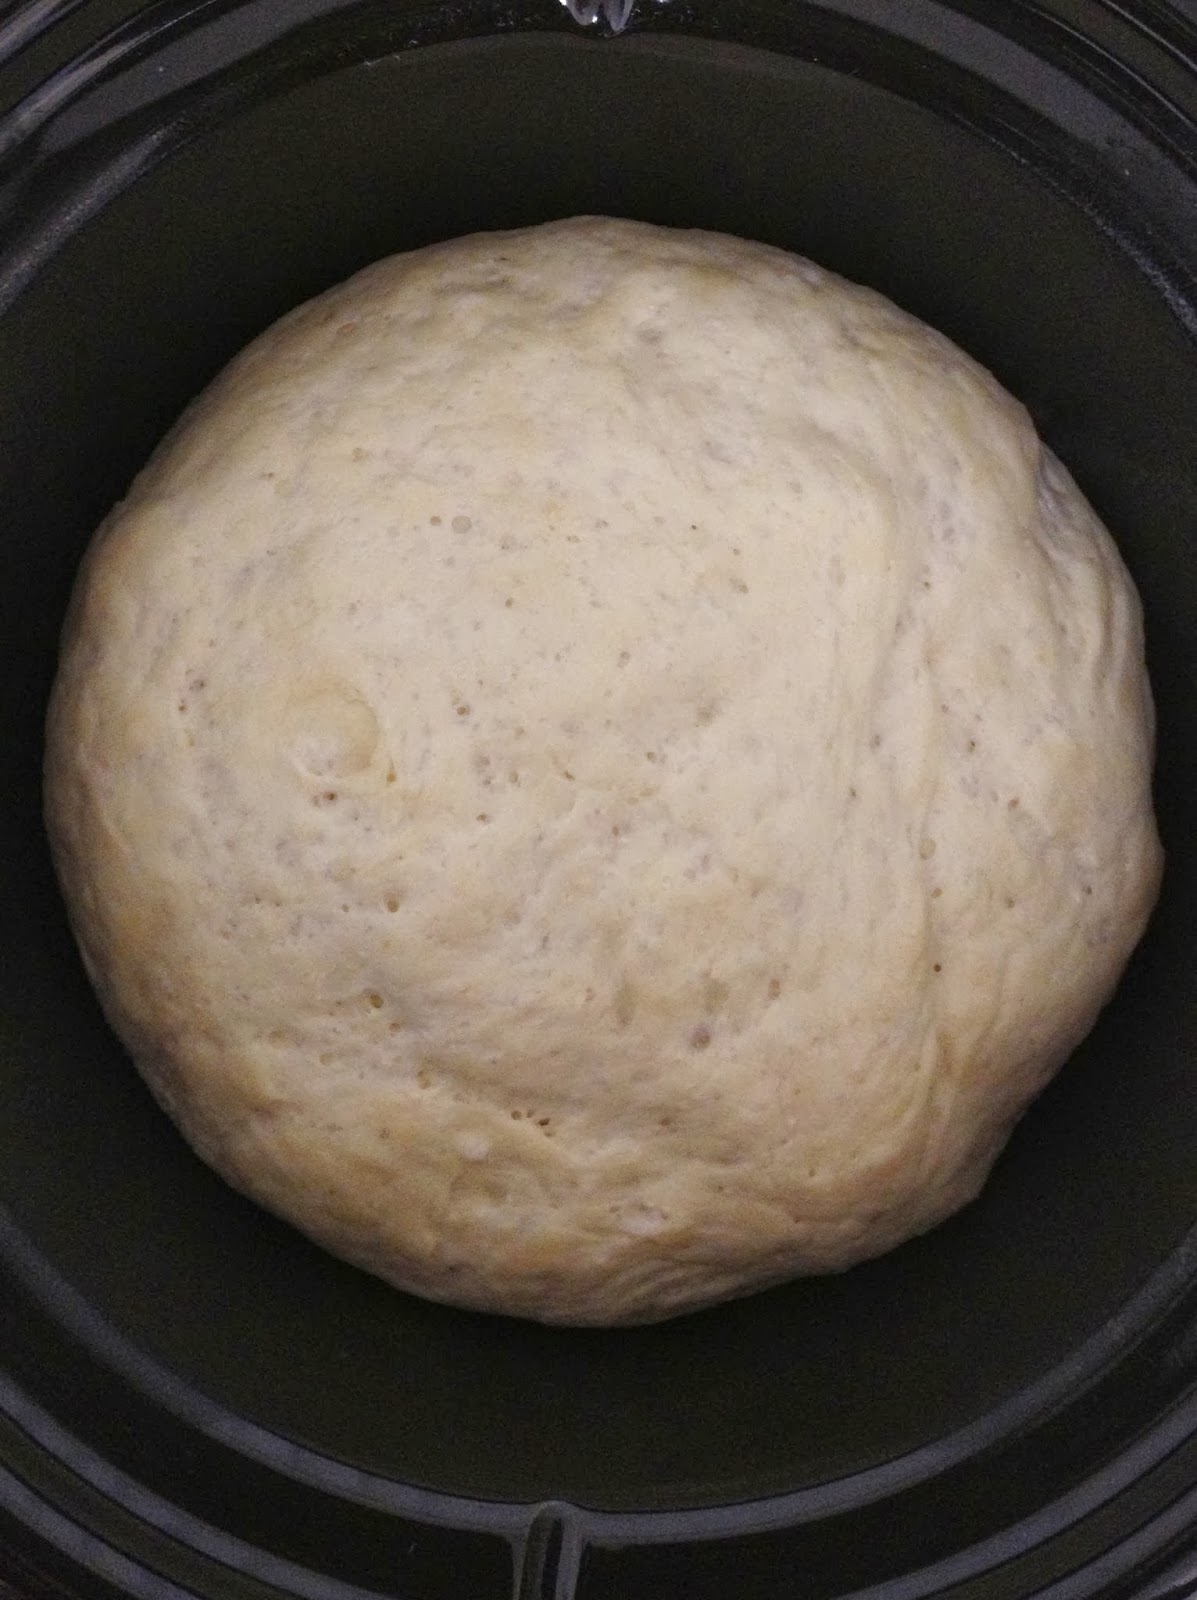
  3. Oil your palms with a tsp of olive oil and shape the dough into a ball. Let it rest in a covered bowl in a draft-free, warm place such as an unheated oven. After 60 - 90 minutes when the dough has risen and doubled in size, push it down gently to release some of the yeasty gases and divide the dough into 8 - 10 pieces.
  4. Preheat the oven to 425 F/220 C with or without a pizza stone.
  5. Roll each piece of dough into a ball, cover the balls with a damp kitchen towel, and let them rest for 15 - 20 minutes. Or, roll each ball of dough into a circle, and let it rest in baking trays or any other flat surface for 15 - 20 minutes.
  6. Put 2-3 or however many uncooked pita loaves fit without being crowded on your baking surface and bake for 5-6 minutes. When the bread puffs up and takes on a slight brown colour, remove from the oven. The bread *will* brown and eventually burn if you leave it in the oven for even a minute longer than 5-6 minutes. 425 F/220 C is hot!
  7. If you're not eating these immediately, take them out of the oven, put them in a large container and cover with a damp towel until you're ready to use them. Reheat as needed.